When do I need to replace a sanding pad? Guides and tips
Introduction
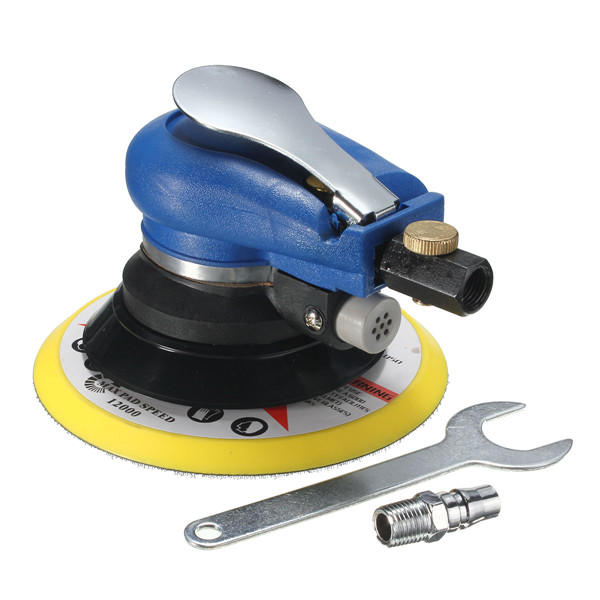
Sanding pads are an important part of your sanding machine. They are the ones that do the actual sanding for you.
They happen to come in different shapes and sizes. Moreover, the pads are rated depending on their grit or coarseness.
So, here’s the question that probably came to your mind:
“When do I need to replace a sanding pad?”
Well, you don’t have to worry about finding the answer. Because we did that for you to help you out.
In this article, we’ll tell you when to replace the sanding pad, how to change it and how to fix other problems as well. This is your go-to guide.
So, without waiting any longer, let’s jump right into it.
Types of Sanders
A sander machine is a tool that is used to smoothen the surface of various objects. To put it in simpler words, it’s a machine that smoothens stuff.
These tools can be found in four types in general: orbital sanders, drum sanders, belt sanders and vibrating sanders.
Now, most households use orbital sander, because they are cheaper and easier to use. The other one’s are industry grade tools. So they’re a bit on the expensive side.
In this article we’ll be talking about a random orbital floor sander, because you won’t want to change the sanding pads on the other ones by yourself.
So, let’s move on to the next section and see when you should actually replace your sanding pad.
When Do I Need to Replace a Sanding Pad?
Sand pads are very useful and their longevity depends on how much you use them. As you keep using them, they’ll start wearing out and lose their grip.
Moreover, if you push a sanding pad to its limit too often the pad will heat up and burn the hook keeping it together. So, that’s something to keep in mind.
Now, the first sign that your sanding pad needs a replacement is when it starts slipping out of the center. It’ll start grabbing onto the surface that you’re working on.
The second sign would be a drop in its consistency. It’ll leave out certain places smoothened, which you’ll have to smoothen again.
One more thing to keep in mind would be that you’ll have to check your pad for worn spots. Even if the rest of the pad is fine, you’ll have to replace it for the worn spot.
Otherwise, it’ll leave spots on your project, not giving you the result you wanted. So, now that you know when to replace a sanding pad, let’s see how you can replace it in the next section.
How to Replace a Sanding Pad?
We have put together 4 steps that you can follow to replace the sanding pad on your orbital floor sander. But you’ll need the following things:
- Replacement Sanding Pad
- Screwdriver
Now, here are the 4 steps:
Step 1: Unscrew Mounting Screws
Start by unscrewing the mounting screws for the sander pad on your sander. They should come off easily with a couple of rotations with a screwdriver.
Once that is done move on to the next step.
Step 2: Remove the Old Pad
Now that you have removed the mounting screws, the sanding pad should come off nice and easy. So, remove it gently.
Moreover, remove the screws from the old backer pad as well. Once the sanding pad is off, you can move to the next step in the process.
Step 3: Install the New Pad
Now, it’s time to install the new sanding pad. It’s fairly easy. You will just have to do the opposite of what you did with the old pad.
Start by attaching the mounting screws on the backer pad. Moreover, it’s easier to first place the screws in and align the sanding pad to it before screwing them shut.
Now, that the screws are threaded, move on to the last step.
Step 4: Tighten the Mounting Screws Back
Since you’re using the sanding pad on a sander, it’s important that it doesn’t come off during use. So, take some time to tighten the mounting screws.
This is a safety measure so that you don’t end up ruining your project. Just to be safe.
You have successfully replaced the sanding pad. Now, let’s check out a quick fix that’ll help you at times.
Quick Fix for Sand Disc That Won’t Stick
A lot of people face the problem of their sand disc not sticking to the orbital pad. This can be easily fixed by
Step 1: Remove the Sander Pad
Start by removing the sander pad that you’re already using by following the way we showed you above.
Now, use a vacuum cleaner to vacuum the screws and remove the sanding dust from the sander as well.
Once that is done, move to the next step.
Step 2: Attach a New Sander Pad
Move on and install a new sander pad by following the steps that we mentioned before. Be careful while rescrewing the pad to avoid future mishaps.
Moreover, remember to tighten the mounting screws as well. That way, it won’t come off in the middle of a job.
That was all about the quick fix that we promised. We hope this helps.
Conclusion
Now that you have read the whole thing, we hope whenever someone asks, “When do I need to replace a sanding pad?” you’ll have an answer.
Sanders are very useful, but with great performance comes maintenance. So be sure to do it right.
Moreover, like any other object, sanding pads also wear out with time. Knowing when to change your sanding pad is important for your work.
You’ll be able to do a better job with your tools in good condition. We hope our guide helped you through it all.
If you think we could add something more or have any suggestions in general, let us know in the comments below.